PF Changs Mongolian beef recipe for home cooking
Table of Contents
PF Changs Mongolian Beef Recipe: Restaurant-Quality Chinese Takeout at Home
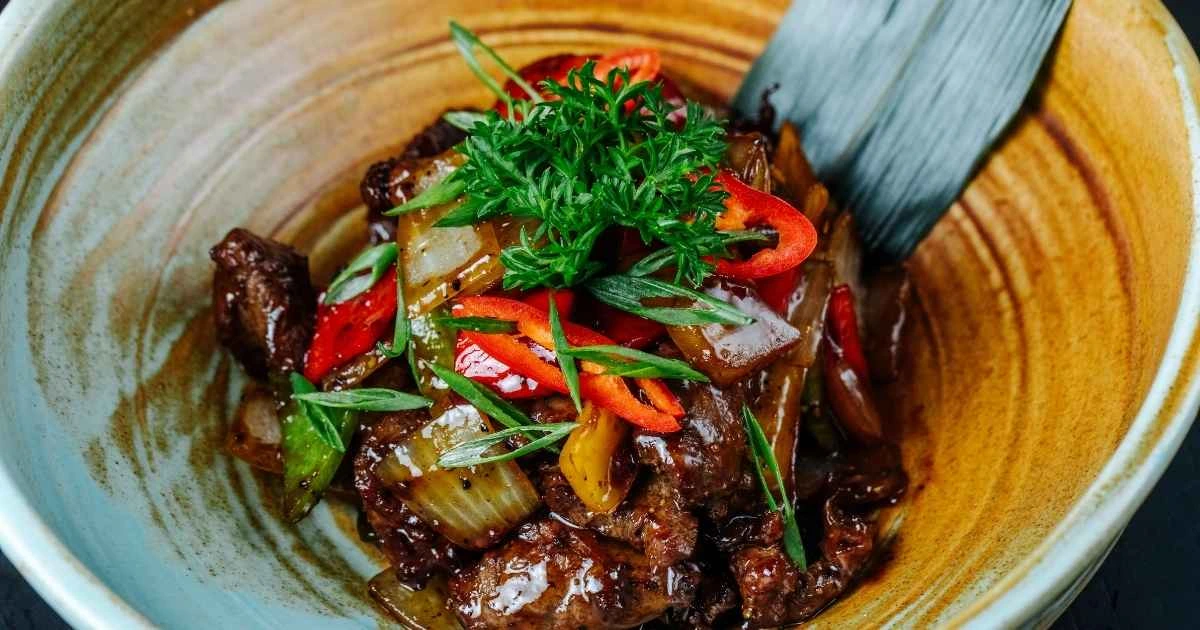
Remember that first bite of PF Chang’s Mongolian beef? The way those caramelized strips of meat practically melted on your tongue, coated in that impossibly glossy sauce that balanced sweet and savory like a tightrope walker? You probably closed your eyes for just a second, savoring the blend of garlic, ginger, and that mysterious depth you couldn’t quite name.
Here’s the thing—you’ve been paying $40 for something you can master in your own kitchen for a fraction of the cost. Tonight, that changes. You’re about to discover the techniques that’ll make your weeknight dinner taste like it came from a high-end Asian bistro, and your family won’t believe you pulled it off in less than thirty minutes.
Why This PF Chang’s Mongolian Beef Recipe Actually Works
You’ve likely cooked Mongolian beef before expecting bold, restaurant-style flavor, only to end up with a cloyingly sweet sauce and tough, rubbery pieces of meat instead. Frustrating, right?
This recipe works because it focuses on the three pillars that separate amateur attempts from professional results: proper beef preparation, temperature control, and timing. When you nail these elements, you’ll create that signature crispy-edged, tender-centered beef swimming in a sauce so perfect you’ll want to drink it straight from the pan (no judgment here).
The best part? You need about fifteen dollars worth of ingredients to feed four people. Compare that to ordering delivery, where you’ll drop forty-plus dollars, wait an hour, and receive lukewarm food that’s been sitting in someone’s car. Your homemade version will be sizzling hot, customized exactly to your taste, and on the table faster than any delivery service can manage.
Essential Ingredients for Your Mongolian Beef Success
You don’t need to hunt down exotic ingredients at specialty Asian markets for this recipe. Your regular grocery store has everything you need.
Your Shopping List
| Ingredient | Amount | Quick Tips |
|---|---|---|
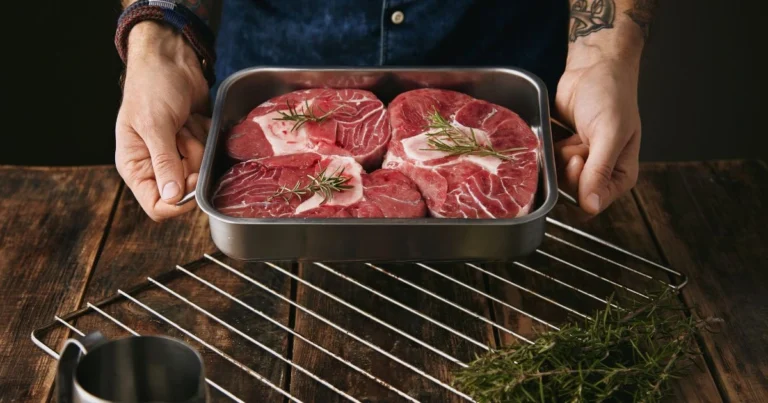
| Flank steak | 1.5 pounds | Look for nice marbling |
| Cornstarch | ½ cup | The secret weapon |
| Vegetable oil | ¼ cup | For that perfect sear |
| Fresh garlic | 5-6 cloves | Never use the jarred stuff |
| Fresh ginger | 2 tablespoons | The real star of the show |
| Green onions | 6-8 stalks | Cut into two-inch pieces |
| Soy sauce | ½ cup | Go for low-sodium |
| Water | ½ cup | Balances the saltiness |
| Dark brown sugar | ⅔ cup | Creates that caramel magic |
| Sesame oil | 1 teaspoon | Your finishing touch |
Flank steak gives you the best results here, though sirloin works beautifully if that’s what catches your eye at the butcher counter. The key isn’t the specific cut—it’s how you treat it.
The Secret to Tender, Restaurant-Quality Beef
Here’s where most home cooks stumble. You can’t just hack at your beef with a dull knife and hope for tenderness. Professional kitchens follow a specific protocol, and you’re about to learn it.
First, pop your beef in the freezer for thirty minutes. This firms it up just enough to make slicing precise and easy. When you’re ready to cut, look closely at the meat. Notice how those long muscle fibers run in a single direction? That’s the grain. Your job is to cut perpendicular to those lines—against the grain—in quarter-inch slices. This shortens those tough muscle fibers, transforming potentially chewy beef into tender ribbons.
Now comes the cornstarch coating, and this step separates your dish from ordinary stir-fry. Pat those beef strips bone-dry with paper towels. Moisture is the enemy here. Toss the beef in cornstarch until each piece wears a light, even coat. Shake off any excess—you want a dusting, not a snowstorm.
This cornstarch creates a delicate crust when the beef hits hot oil, giving you those slightly crispy edges that make PF Chang’s version so addictive. Plus, it releases starch into your sauce later, naturally thickening it to that perfect glossy consistency.
Building the Perfect Mongolian Beef Sauce
Your sauce makes or breaks this dish. Mix these ingredients in a bowl before you start cooking—once things heat up, you won’t have time to measure:
| Sauce Component | Amount | What It Does |
|---|---|---|
| Soy sauce | ½ cup | Salty umami foundation |
| Water | ½ cup | Prevents overwhelming saltiness |
| Dark brown sugar | ⅔ cup | Sweet caramelization |
| Minced garlic | 5-6 cloves | Aromatic backbone |
| Minced ginger | 2 tablespoons | Warm, zesty notes |
The dark brown sugar matters here. White sugar won’t give you that deep, molasses-tinged sweetness that defines authentic Mongolian beef. If your sweet tooth runs conservative, start with half a cup and adjust after tasting.
Step-by-Step: Bringing It All Together
Clear your counters and get everything prepped before you light that burner. This dish moves fast, and scrambling for ingredients mid-cook guarantees disappointment.
The Cooking Process
Preheat your largest skillet or wok over high heat. Pour in your vegetable oil and wait until it shimmers—you’ll see the surface dancing slightly. Drop in a single piece of beef to test. It should hit that oil with an aggressive sizzle. Anything less means your pan isn’t ready.
Here’s the crucial part: cook your beef in batches. Crowding the pan drops the temperature, causing your beef to steam instead of sear. You’ll end up with gray, sad meat instead of those gorgeous caramelized edges. Work in two or three batches, giving each piece space to breathe.
Let each batch cook undisturbed for two to three minutes per side. You’re building a crust here, and constantly poking and stirring prevents that from happening. When the beef develops golden-brown edges and looks crispy, transfer it to a plate. Repeat until all your beef is cooked.
Pour out most of the oil, leaving about a tablespoon in the pan. Those browned bits stuck to the bottom? That’s concentrated flavor—don’t wash them away.
Drop your minced garlic and ginger into the hot pan. The aroma that hits you in about thirty seconds—that intoxicating blend of sharp garlic and warm ginger—tells you it’s time for the next step. Don’t walk away during this phase. Burned garlic tastes bitter and ruins everything.
Pour your sauce mixture into the pan. It’ll bubble up immediately, and that’s exactly what you want. Let it simmer for two to three minutes, reducing slightly and thickening from the cornstarch residue left by your beef.
Return all your beef to the pan, along with any juices that accumulated on the plate. Toss everything together, coating each piece in that glossy sauce. Add your green onions now, stirring them through. The white parts can handle more heat, so they go in first. Save the delicate green tops for the final thirty seconds.
Kill the heat, drizzle with sesame oil, and you’re done.
Pro Tips That Make the Difference
Temperature control separates amateur cooking from professional results. Your pan needs to stay screaming hot throughout the beef-cooking phase. If your stove runs cool, work in smaller batches to maintain that heat.
Don’t rinse your cornstarch-coated beef before cooking. Some recipes suggest this, but you want that starch. It creates texture on the beef and naturally thickens your sauce without additional cornstarch slurries.
Fresh ginger and garlic matter tremendously here. The jarred, pre-minced versions taste flat and one-dimensional. Spend the extra three minutes mincing fresh aromatics. Your taste buds will thank you.
If your sauce seems too thick after cooking, splash in a tablespoon or two of water. Too thin? Let it simmer another minute. The beauty of cooking at home means you control everything.
What to Serve Alongside Your Mongolian Beef
Steaming white rice is traditional, and for good reason—it soaks up that incredible sauce. Jasmine rice works beautifully, or try cauliflower rice if you’re watching carbs.
Want the full PF Chang’s experience? Start dinner with lettuce wraps or egg rolls. Add a side of stir-fried green beans or steamed broccoli. Pour some iced green tea, and you’ve recreated the restaurant experience in your dining room.
Storing and Reheating Your Leftovers
Your Mongolian beef keeps beautifully in the refrigerator for three to four days. Store it in an airtight container, and if you’re planning ahead, keep the sauce and beef separate to prevent sogginess.
Reheating on the stovetop gives you the best results. Warm a skillet over medium heat, add your leftovers with a splash of water to loosen the sauce, and stir frequently for three to five minutes. The beef won’t be quite as crispy as when you first cooked it, but the flavor remains phenomenal.
Frequently Asked Questions About PF Chang’s Mongolian Beef Recipe
Can you make this recipe gluten-free?
Absolutely. Swap regular soy sauce for tamari, which delivers the same flavor without gluten. Cornstarch is naturally gluten-free, so you’re good there. Just verify your other ingredients don’t contain hidden gluten.
What if your beef turns out tough?
You probably cut with the grain instead of against it, or you cooked it too long. Beef needs only two to three minutes per side in a properly heated pan. Overcooking guarantees toughness, regardless of your cut quality.
Can chicken replace the beef in this Mongolian beef recipe?
Sure thing. Chicken thighs work better than breasts because they stay moister during cooking. Cut them into thin strips, coat with cornstarch, and follow the same method. Reduce cooking time slightly—chicken needs less time than beef to reach safe temperatures.
Your Turn to Create Restaurant Magic
You now hold the blueprint for restaurant-quality Mongolian beef that costs less, tastes better, and comes together faster than ordering takeout. That craving that usually sends you reaching for your phone and credit card? You can satisfy it tonight with ingredients probably sitting in your kitchen right now.
The first time you plate this dish and watch your family’s faces light up—that moment when they can’t believe you made something this good—you’ll understand why learning to cook beats delivery every single time. You’re not just saving money. You’re building skills that’ll serve you for life.
Stop scrolling through restaurant menus. Your kitchen is calling, and honestly? You’re about to blow your own mind with what you can create in the next thirty minutes. Get that pan heating. Your perfect Mongolian beef awaits.
Ready to transform your weeknight dinners? Try this recipe tonight and tell us how it turned out in the comments below. Share your photos, ask questions, or let us know what you’d like to learn next. Your kitchen adventure starts now.