Sugar Cookie Fruit Pizza Guide: How to Get the Perfect Texture, Flavor, and Look
Table of Contents
Sugar Cookie Fruit Pizza Guide: How to Get the Perfect Texture, Flavor, and Look
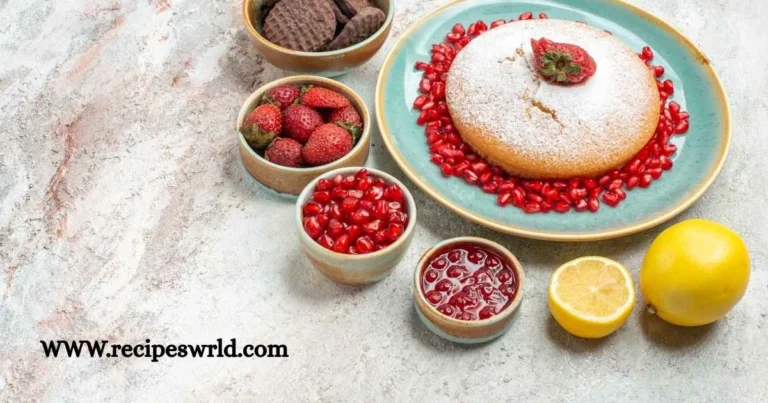
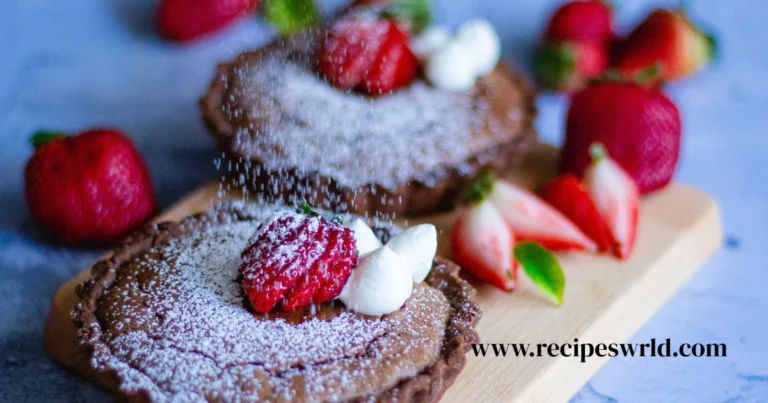
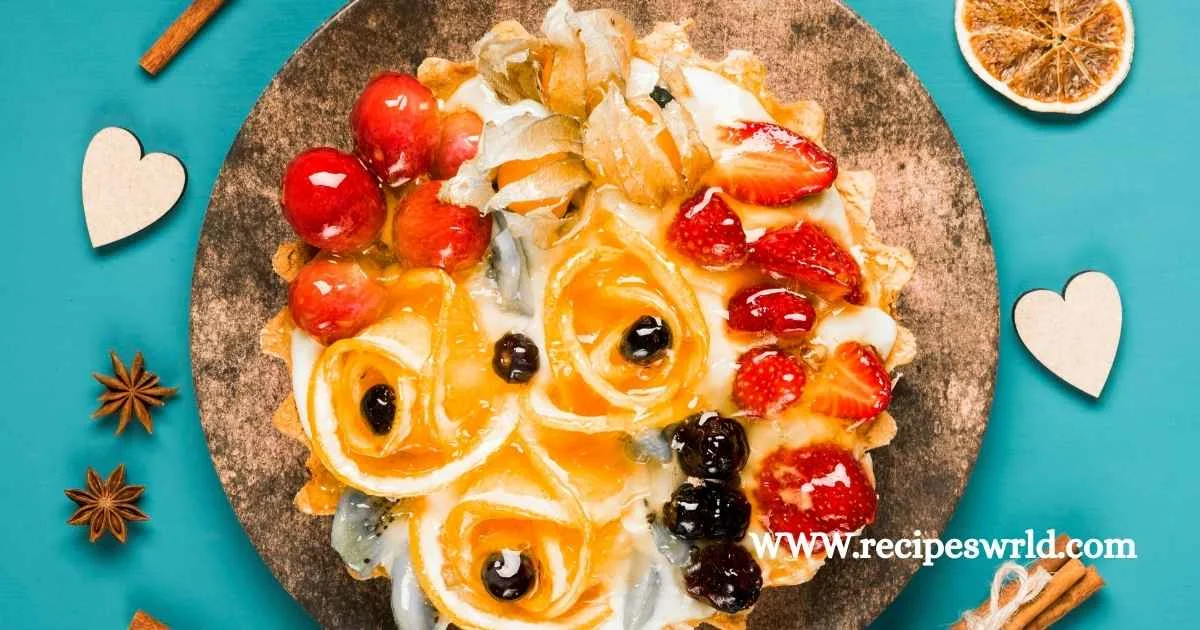
Picture this: You’re scrolling through social media when a vibrant dessert catches your eye—a gorgeous circle of golden cookie topped with swirls of white cream and a kaleidoscope of fresh berries. Your mouth waters instantly. That’s the magic of sugar cookie fruit pizza, a showstopper that transforms simple ingredients into something extraordinary.
Maybe you’ve attempted this dessert before, only to end up with a soggy mess or a cookie that cracked under pressure. Perhaps you’re standing at the edge of trying, wondering if you can actually pull off something that looks professionally crafted. Here’s the truth: creating a stunning sugar cookie fruit pizza isn’t reserved for pastry chefs or baking competition winners. With the right approach, you’ll master every element—from that tender-yet-sturdy foundation to the eye-catching arrangement that makes people reach for their cameras before their forks.
This guide walks you through transforming ordinary ingredients into an unforgettable centerpiece that tastes even better than it looks.
The Foundation: Building Your Perfect Cookie Base
Your cookie base determines everything that follows. Think of it as the canvas for your edible artwork—it needs structural integrity without sacrificing that melt-in-your-mouth quality everyone craves.
Choosing Your Dough Strategy
You’re facing a decision right from the start: homemade or store-bought? Both paths lead to delicious results, but they offer different advantages.
Store-bought refrigerated dough saves time and removes guesswork. You’ll find it works surprisingly well when pressed into shape and baked until golden. Look for brands that emphasize butter content rather than shortening—the flavor difference shows up in every bite.
Homemade dough gives you complete control over texture and sweetness. You’ll invest about fifteen extra minutes, but you’re rewarded with a sturdier structure that holds toppings without buckling. The secret lies in the ingredient ratios and mixing technique.
Creating Cookie Perfection
Your ideal cookie base walks a fine line between crisp and tender. Too hard, and it becomes a jaw workout. Too soft, and it can’t support the weight of cream and fruit.
Start by creaming softened butter with sugar until the mixture turns pale and fluffy. This process incorporates air, creating tenderness without compromising structure. Add your egg and an extra yolk—that additional richness prevents dryness and gives your cookie a beautiful golden hue.
When you fold in the flour mixture, stop the moment everything comes together. Overmixing develops gluten strands that turn your tender cookie into something tough and unpleasant.
Here’s where most people stumble: they skip chilling the dough. Resist that urge. Thirty minutes in the refrigerator solidifies the butter, preventing excessive spread during baking. Your cookie will hold its shape instead of morphing into an abstract blob.
Roll your dough to a consistent quarter-inch thickness on a piece of parchment paper. Transfer the entire sheet—paper and all—onto your baking pan. This prevents stretching and maintains your carefully achieved shape.
Before sliding it into a 350-degree oven, dock the surface by pressing fork tines across the entire cookie. These tiny punctures release steam, preventing bubble formation that creates uneven surfaces.
Bake for 15-18 minutes, watching for lightly golden edges while the center remains just slightly underdone. The cookie continues cooking on the hot pan after removal, so pulling it early prevents that dreaded rock-hard texture.
Let it cool completely—and we mean completely. Warm cookies create condensation under the cream layer, leading straight to sogginess.
The Creamy Middle: Crafting Your Luscious Layer
Your cream cheese topping bridges the gap between cookie and fruit, providing tangy contrast to all that sweetness. Getting the consistency right makes the difference between elegant and messy.
Mixing Your Cream Base
Pull your cream cheese and butter from the refrigerator an hour before mixing. Room temperature ingredients blend smoothly without lumps, creating that silky texture you’re after.
Whip the cream cheese and butter together until the mixture is silky smooth. Now gradually add powdered sugar, mixing on low speed to prevent a sugar cloud from coating your kitchen. Once incorporated, increase speed and whip for two minutes. This additional beating time incorporates air, making your topping lighter and easier to spread.
Add vanilla extract and a touch of heavy cream to adjust consistency. You’re aiming for a texture that spreads easily but holds its shape—similar to thick Greek yogurt. Too stiff, and it tears your cookie base during spreading. Too loose, and it won’t support your fruit arrangement.
Applying the Perfect Amount
Spread your cream layer edge to edge, but here’s the professional trick: create a slight well in the center. Fruit releases moisture, and that shallow depression prevents juice from running down the sides.
Aim for a quarter-inch thickness across the surface. Thicker seems luxurious, but it actually overwhelms the flavor balance and makes clean slicing nearly impossible.
The Star Attraction: Selecting and Arranging Fruit
Fresh fruit transforms your cookie pizza from simple dessert to conversation starter. Your selection impacts both visual appeal and structural success.
Choosing Wisely
Strawberries lead the popularity contest for good reason—they slice beautifully, hold their shape, and provide stunning red contrast. Look for firm berries without soft spots.
Kiwi offers vibrant green that makes other colors pop. Mandarin orange segments add citrus brightness. Blueberries and raspberries fill gaps while contributing bursts of flavor.
Avoid bananas despite their appeal—they turn brown within hours. Skip watermelon and other high-moisture fruits that leach water and create soggy disasters.
Creating Visual Impact
Your arrangement strategy depends on the occasion and your comfort level. Beginners succeed with concentric circles, starting from the outside and spiraling inward. Alternate colors for maximum impact—strawberry slices followed by kiwi rounds, then clusters of blueberries.
For gatherings where appearance matters most, try the rainbow method. Arrange red strawberries transitioning to orange mandarins, yellow pineapple, green kiwi, and purple grapes in distinct sections. Children especially love this approach.
The scattered organic style works for modern presentations. Place larger fruit pieces first, then fill gaps with berries. This seemingly random arrangement actually requires careful balance—step back frequently to check symmetry.
Keeping Everything Fresh
Apply a thin glaze after arranging your fruit. Warm two tablespoons of apricot preserves with a teaspoon of water until liquid, then brush gently over the entire surface. This creates a protective barrier that prevents browning and adds subtle shine.
Alternatively, squeeze lemon juice lightly over cut fruit before arranging. The citric acid slows oxidation, keeping colors vibrant for several hours.
Texture Mastery: Understanding the Components
Achieving perfect texture in your sugar cookie fruit pizza requires understanding how each layer contributes to the final bite.
Cookie Consistency Goals
Your finished cookie should yield gently to pressure but never crumble. When you bite through, you’ll experience slight resistance at the surface before encountering tender interior crumb. This contrast comes from proper baking—high enough temperature to set the exterior while keeping the center soft.
Cookie thickness matters enormously. Too thin (under a quarter inch), and it becomes brittle, shattering when you apply cream. Too thick (over three-eighths inch), and it overwhelms the other components, creating an unbalanced mouthful.
Balancing All Elements
The ratio of cookie to cream to fruit determines whether each bite delivers harmony or discord. Aim for roughly equal volumes of each component in every forkful. Your quarter-inch cookie base should support a quarter-inch cream layer and three-quarters inch of fruit height.
Temperature affects texture perception dramatically. Serve your creation slightly chilled—the cold cream provides refreshing contrast to room-temperature cookie, while fruit flavors remain bright without being icy.
Flavor Balancing: Creating Taste Harmony
Exceptional sugar cookie fruit pizza transcends simple sweetness through deliberate flavor layering.
The Sweet-Tart Balance
Your cookie brings buttery, vanilla-forward sweetness. The cream cheese layer contributes tangy notes that cut through richness. Fresh fruit provides acidic brightness that refreshes the palate.
This trinity works because each component balances the others. Without the cream cheese tang, the dessert becomes cloying. Without fruit acidity, richness overwhelms. Without cookie sweetness, the tartness becomes too sharp.
Enhancing Your Profile
Add lemon zest to your cream cheese mixture for an extra brightness dimension. The aromatic oils in the peel amplify citrus notes without adding moisture.
Consider folding a teaspoon of almond extract into your cookie dough. This subtle enhancement adds complexity that people notice without identifying—they just know something tastes special.
Finish with a whisper of flaky sea salt scattered across the surface just before serving. Salt amplifies sweetness while providing textural contrast and sophisticated flavor depth.
Timing Your Assembly
Understanding when to put everything together separates successful fruit pizzas from disappointing ones.
The Assembly Timeline
Bake your cookie base up to three days ahead. Once completely cooled, wrap tightly in plastic wrap and store at room temperature. This actually improves texture as the cookie settles and flavors develop.
Prepare your cream cheese mixture one or two days early. Store it in an airtight container in the refrigerator, then bring to room temperature thirty minutes before spreading.
Wash and cut your fruit the morning of serving, storing pieces in the refrigerator on paper towels to absorb excess moisture.
Assemble everything two to four hours before guests arrive. This window provides enough time for flavors to meld without allowing moisture problems to develop.
Storage and Serving Success
Proper handling after assembly ensures your creation looks and tastes as intended.
Keeping It Fresh
An assembled sugar cookie fruit pizza stays at peak quality for about four hours at room temperature. Beyond that, fruit begins releasing juice and colors start fading.
Refrigerated storage extends this window to roughly 24 hours, though texture and appearance gradually decline. Cover loosely with plastic wrap, ensuring the wrap doesn’t touch the fruit surface—contact points create condensation that damages appearance.
Never freeze an assembled fruit pizza. The thawed result becomes watery and unappealing. Freeze only the cookie base if you need longer storage.
Cutting and Serving
Use a sharp pizza wheel or chef’s knife for clean cuts. Wipe the blade between slices to prevent fruit smearing.
Cut while the pizza is cold—the firm cream layer slices cleanly. Let individual pieces come to room temperature for five minutes before eating. This brief warming period allows flavors to bloom fully.
Plan on 12-16 slices from a standard 12-inch pizza, making this dessert perfect for gatherings where you need substantial portions without overwhelming richness.
Your Next Steps to Sugar Cookie Success
Creating an outstanding sugar cookie fruit pizza combines technique, timing, and attention to detail. You’ve discovered the secrets behind that perfect tender-yet-sturdy cookie base, learned how to achieve silky cream cheese topping that won’t slide off, and mastered fruit selection strategies that prevent soggy disasters.
The visual impact comes from thoughtful arrangement—whether you choose classic concentric circles or modern scattered placement. The incredible flavor emerges from balancing sweet, tart, and buttery components into harmonious bites that keep people reaching for more.
Most importantly, you’ve learned that this impressive dessert doesn’t require professional training or exotic ingredients. With quality basics and proper technique, you’ll create something that looks like it came from a bakery showcase.
Ready to transform your kitchen into a fruit pizza workshop? Gather fresh fruit, quality cream cheese, and real butter. Set aside a relaxed afternoon—rushing this process shows in the results. Follow these techniques step by step, and you’ll soon be serving a dessert that has everyone asking for your secret.
Your first attempt might not be camera-ready perfection, and that’s completely normal. Each time you make this, you’ll refine your technique and discover personal preferences. Maybe you’ll fall in love with the lemon-zested cream variation, or perhaps you’ll develop a signature fruit arrangement pattern that becomes your trademark.